
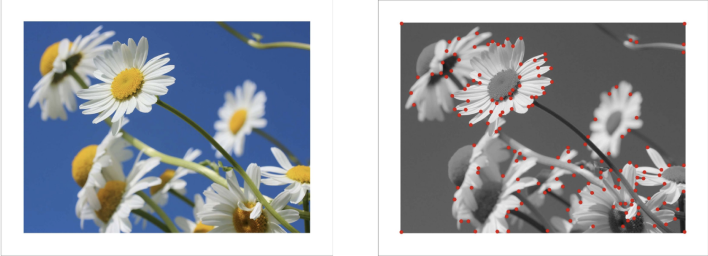
Image recognition is based on the number of key points that the platform can find on the loaded image (trigger). The more points – the faster and more stable tracking will work.
To prepare a good marker, pay attention to the following characteristics:
⠀⠀⠀⠀⠀
High contrast
The difference in tones helps you find more points in the image.

An example of a good marker:
⠀⠀⠀⠀⠀
No repeating shapes or patterns
The same or similar objects negatively affect recognition and tracking.
An example of a marker with many of the same shapes and patterns is a bad marker:

Why is that bad? There are a lot of corner points in this image, but they are repeated, therefore, the tracking will be unstable, because the points will be confused with each other. Better not to use such images.
⠀⠀⠀⠀
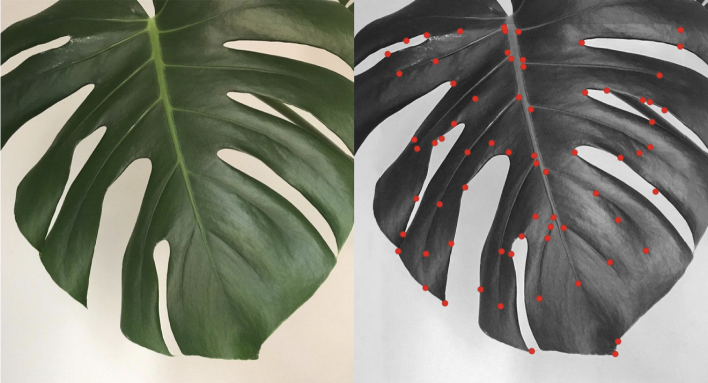
A large number of details
The more unique elements in the image, the better it will be recognized.
An example of a good image with a lot of detail:
⠀⠀⠀⠀
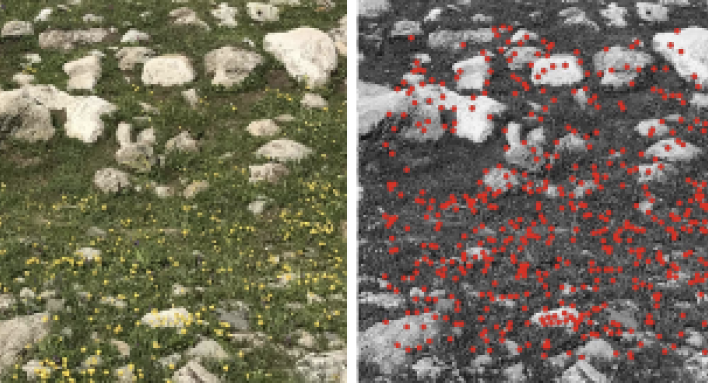
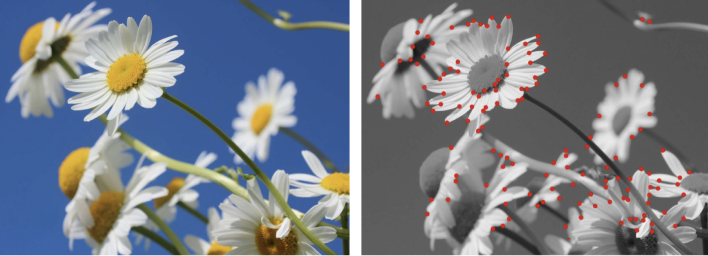
Distribution of special points
For high-quality tracking, it is necessary that the singular points are evenly distributed over the image.
An example of poor distribution of points:
As you can see, most of the points are distributed in one corner of the image, which will negatively affect tracking.
Is there a way to avoid this without changing the marker? Yes, you can simply crop the image, or add additional elements so that most of the points are not in one corner of the marker, but are distributed over the plane of the entire image.
an example of a good image with a lot of detail:
⠀⠀⠀⠀
Use square and angular shapes
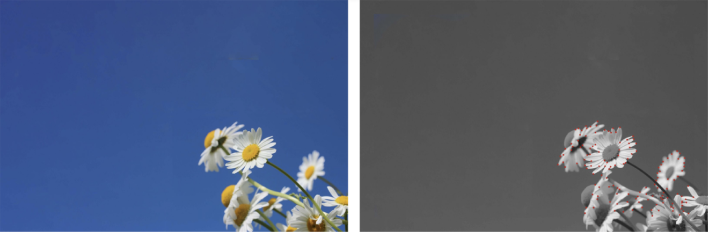
They provide more key points than round objects.
Round shapes have no sharp transitions, so tracking will deteriorate.
Bad figure example:
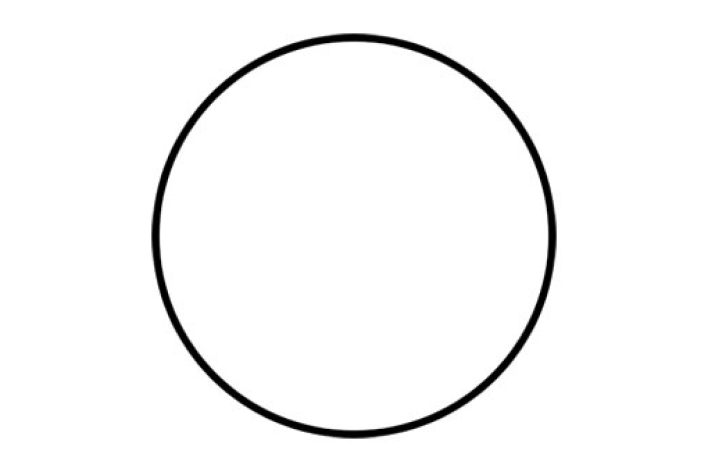
We see that there are no abrupt transitions to “catch” here.
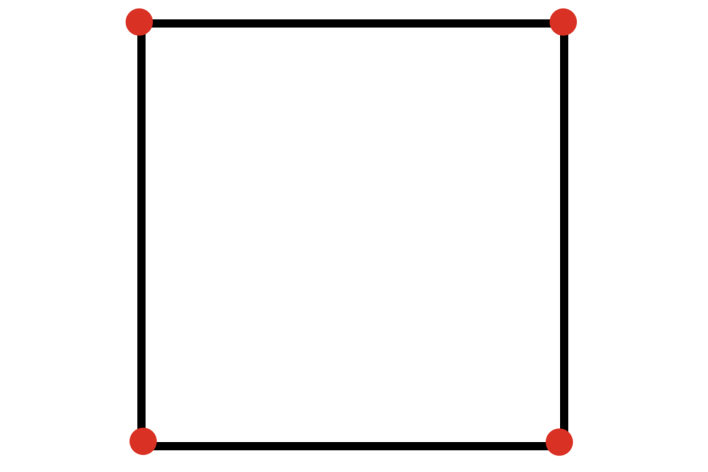
Although the square has 4 corners, which are easy to identify … such a figure is not used for one simple reason – the square is symmetrical, therefore, it becomes impossible to determine the orientation in space (try rotating the square 90º – nothing has changed … in this and the problem of this figure as a marker):
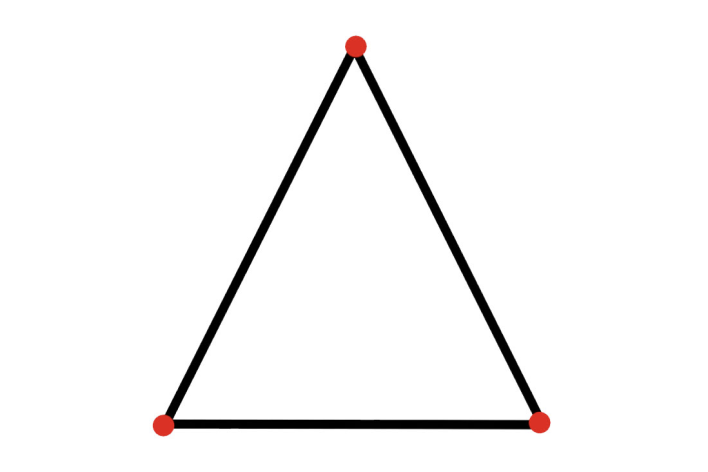
An example of a great shape is a triangle.
⠀⠀⠀⠀
The Feature – Exclusion Buffer
As you can see in the images above, the points are not placed over the entire marker … About 8% of the unaffected space remains (even taking into account the fact that there are objects in this zone that could be “attached”). This space is an exception buffer — no points are initialized in this area.
You can avoid this situation by simply adding a white border around the future marker (approximately 8% of the width). In the images below, there will be an example of a bad marker and a good one.
When there is no frame, precious information is lost (it is worth taking a closer look at the areas that are close to the edge of the marker):
If you add a white border, the information will not be lost:

⠀⠀⠀
Supported image formats
Web-AR.Studio supports various image formats including:
- .PNG
- .JPG
- .JPEG
If your image file is not supported or exceeds the size limit, you can compress it and change the file format using one of the graphics editing applications.
⠀⠀⠀
Let’s take a look at each format separately.
PNG is a storage format for raster (an image that is a mosaic of pixels – colored dots) images. Was designed to replace the GIF format.
The advantages of this format:
Lossless compression – the quality remains excellent at any compression ratio,
Compact file size,
Works great with colors (higher color range than GIF),
When re-saving a file, the quality does not deteriorate,
Transparency support.
Disadvantages of this format:
Sometimes, the format may be poorly supported on different browsers,
Poor work with full color images (photos, illustrations) – the size is higher than that of JPEG (JPG) and GIF.
Программы для работы с PNG:
- Adobe Photoshop
- Microsoft Windows Photos
- Movavi Photo Editor
- Microsoft Paint
- Apple Photos
- GIMP и т.д
⠀⠀
JPG (JPEG) – is the most common bitmap compressed image format. Used to store photographs and similar images.
The advantages of this format:
Controllable compression ratio – you can choose the ratio of quality and file size,
Format universality – works correctly in all browsers and on all devices,
Good quality with low compression ratio.
Disadvantages of this format:
Each compression step degrades the quality (several pixels “merge” – smooth transitions between colors disappear),
Loss of color detail on compression (stems from the disadvantage above),
The format does not support transparency,
Not optimal when working with text graphics.
Программы для работы с JPEG:
- Adobe Photoshop
- Adobe Illustrator
- Microsoft Windows Photos
- CorelDRAW
- Movavi Photo Editor
- Microsoft Paint
- Apple Photos
- GIMP и т.д
⠀⠀
Conclusion
- Download not in vector, but in raster format
- If there is no raster, or even the raster itself somehow reflects due to the material – take a picture of the image and upload the photo
- If you really really need the image to be recognized, but the algorithm does not start up, then look where the algorithm has highlighted the green and yellow squares. You can crop this part of the photo and the image will work, but only this part will be recognized. We specifically determine whether the image is suitable or not and we can say that it is not suitable, even if there are green and yellow squares in there to say that the whole image is poorly recognized and will be a bad trigger